久しぶり更新です。
このところ釣りにはいっていましたが、ハゼクラはまだまだな感じ。
釣りの合間にこんなことをやっておりました
ロッド作りです、まずは最初なので使っていない鱒レンジャーのリメイクです
部品リストは次のとおりすべて日本橋のサバロで購入です
リールシート PMTSシリーズ
PTSK17/ASH
KSKフード用メッシュカーボンパイプ(MATAGI)
CB-K18SSC
(ツヤ有り)
KSKフード用カーボンパイプ専用トップリング(MATAGI)
KSK17-CBTPO
ゴールド
KSKフード用カーボンパイプ専用ボトムリング(MATAGI)
KSK17-CBDOWN
ゴールド
FUJI メタルパーツ
DRHシリーズ(ナットリング)
23mm
A-GDRH
コルクアーバー(ジャストエース)
CA15
EVAグリップ(FUJI)
E-TGP-S300-27
ジャストエース
カーボンパイプ(艶消しブラック)
内径:8mm 外径:10mm
エンドキャップ(ジャストエース)
AEC-CAP・AL-CAP
ゴールド
リールシートスクリュー側専用ワインディングチェック(MATAGI)
D16-FR
16-8.0
パープル

リールシートのフードにカーボンパイプとリングを組み合わせてます
カーボンフードは長めなのでルーターでパイプに合うようにカットしました

グリップはEVAですFUJIのE-TGP-S300-27を18cmにカットしました
グリップ内部はカーボンパイプを通してブランクをカーボンパイプで補強します

組み合わせたところ

アバーの内径は棒ヤスリで削ってブランクに通します
ブランクは鱒レンジャーの4ftをバラしました、写真は撮り忘れましたが、他のサイトに鱒レンジャーの改造はたくさんありますので他サイトを参考にしてください、バラしたらグリップの装着位置にコルクアーバをいれてリールシートのパイプのスキマを埋めますあとはエポキシで接着です
エポキシを混ぜ混ぜして接着しました

カーボンパイプとブランくのスキマはタコ糸を巻いてスキマをうめます

FUJI メタルパーツシリーズ(ナットリング)をグリップを接着するませにシート側に接着します
このあとタコ糸にたっぷりエポキシ接着剤をつけてグリップを接着します。
グリップが接着しましたらエンドキャップを取り付けてグリップは完成です

グリップのスクリュー側はブランクが見えてしまいカッコがわるいので、なんとかしようと思案したところちょうど良いワインディングチェックがあったのでそれを使いました(D16-FR 16-8.0パープル)
あとはラピーテープをつかってガイドセッテイングのためガイドを仮止めしました


チチブさんを2匹ほど釣って問題ないことを確認しました
この状態で釣りをしてガイドのセッテイングを見ます
最終的にガイドは次のとおりです
品名
サイズ
個数
PKWSG
10
1
PKWSG
5.5
1
PKBSG
4
1
PKTSG
4
2
T-FST
4.5-1.2
1
トップT-FST
8cmはなして
PKTSG
10cmはなして
PKTSG
15cmはなして
PKBSG
17cmはなして
PKWSG
19cmはなして
PKWSG
というセッテングです
あとはガイドをスレッドでまいてコーティングして完成です(詳しくはジャストエースの動画を参考にしてください)
で今週末になんとか完成したのでハゼ釣りにGOです
昨日の6月10日は


なんとかおチビさんのデキハゼで入魂完了です(^o^)
今日(6月11日)は午後3時から2時間ほどの釣行です


チチブ&デキハゼ3匹でした、デキハゼはまだまだ小さいですが、釣れ始めたので
ハゼクラ開幕を宣言します。
しかしロッドビルディングはハマりますねーハゼ用のベイトロッドはKYOTOFLYさんのとこでしかないので、もうちょっとショートなロッドがいつもの運河ではいいので作ってみましたがこんどはブランク選びから真剣にやってみようかと思います。
まぁこんな酔狂なことをする人はいないとは思いますがガイドセッテイングは公開したので参考にしてみてください。
それでは
It's been a while since my last update.
I've been going fishing lately, but it still feels a bit early for goby cranking ('Hazekura').
In between fishing trips, I've been working on this:
Rod building! Since this is my first time, I'm starting by remodeling a 'Masu Ranger' (Trout Ranger) rod that I wasn't using.
Here is the parts list. I bought everything at Sabalo in Nihonbashi.
Reel Seat: PMTS Series
PTSK17/ASH
Mesh Carbon Pipe for KSK Hood (MATAGI)
CB-K18SSC
(Glossy)
Top Ring for KSK Hood Carbon Pipe (MATAGI)
KSK17-CBTPO
Gold
Bottom Ring for KSK Hood Carbon Pipe (MATAGI)
KSK17-CBDOWN
Gold
FUJI Metal Parts
DRH Series (Nut Ring)
23mm
A-GDRH
Cork Arbor (Justace)
CA15
EVA Grip (FUJI)
E-TGP-S300-27
Justace
Carbon Pipe (Matte Black)
Inner Diameter: 8mm Outer Diameter: 10mm
End Cap (Justace)
AEC-CAP・AL-CAP
Gold
Winding Check for Reel Seat Screw Side (MATAGI)
D16-FR
16-8.0
Purple
I'm assembling the carbon pipe and rings onto the reel seat hood.
The carbon hood was a bit long, so I cut it with a router to fit the pipe.
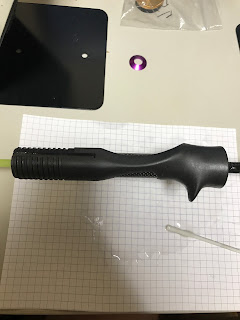
The grip is EVA. I cut a FUJI E-TGP-S300-27 down to 18cm.
I'm running a carbon pipe through the inside of the grip to reinforce the blank.
Here it is assembled.
I'm filing the inner diameter of the arbor with a round file so it fits over the blank.
The blank is from a disassembled 4ft Masu Ranger. I forgot to take pictures, but there are many other sites with Masu Ranger modifications, so please refer to those. After disassembling it, I placed the cork arbor at the grip's mounting position to fill the gap in the reel seat pipe. Then, I glued it with epoxy.
Mixing and applying the epoxy.
I filled the gap between the carbon pipe and the blank by wrapping it with kite string.
Before gluing the grip, I glued the FUJI Metal Parts Series (Nut Ring) to the seat side.
After this, I'll apply plenty of epoxy adhesive to the kite string and attach the grip.
Once the grip is glued on, I'll attach the end cap to complete the grip.
The blank was exposed on the screw side of the grip, which didn't look good. While thinking of a solution, I found a winding check that was a perfect fit, so I used that (D16-FR 16-8.0 Purple).
Next, I temporarily attached the guides with Lappy Tape for guide setting.
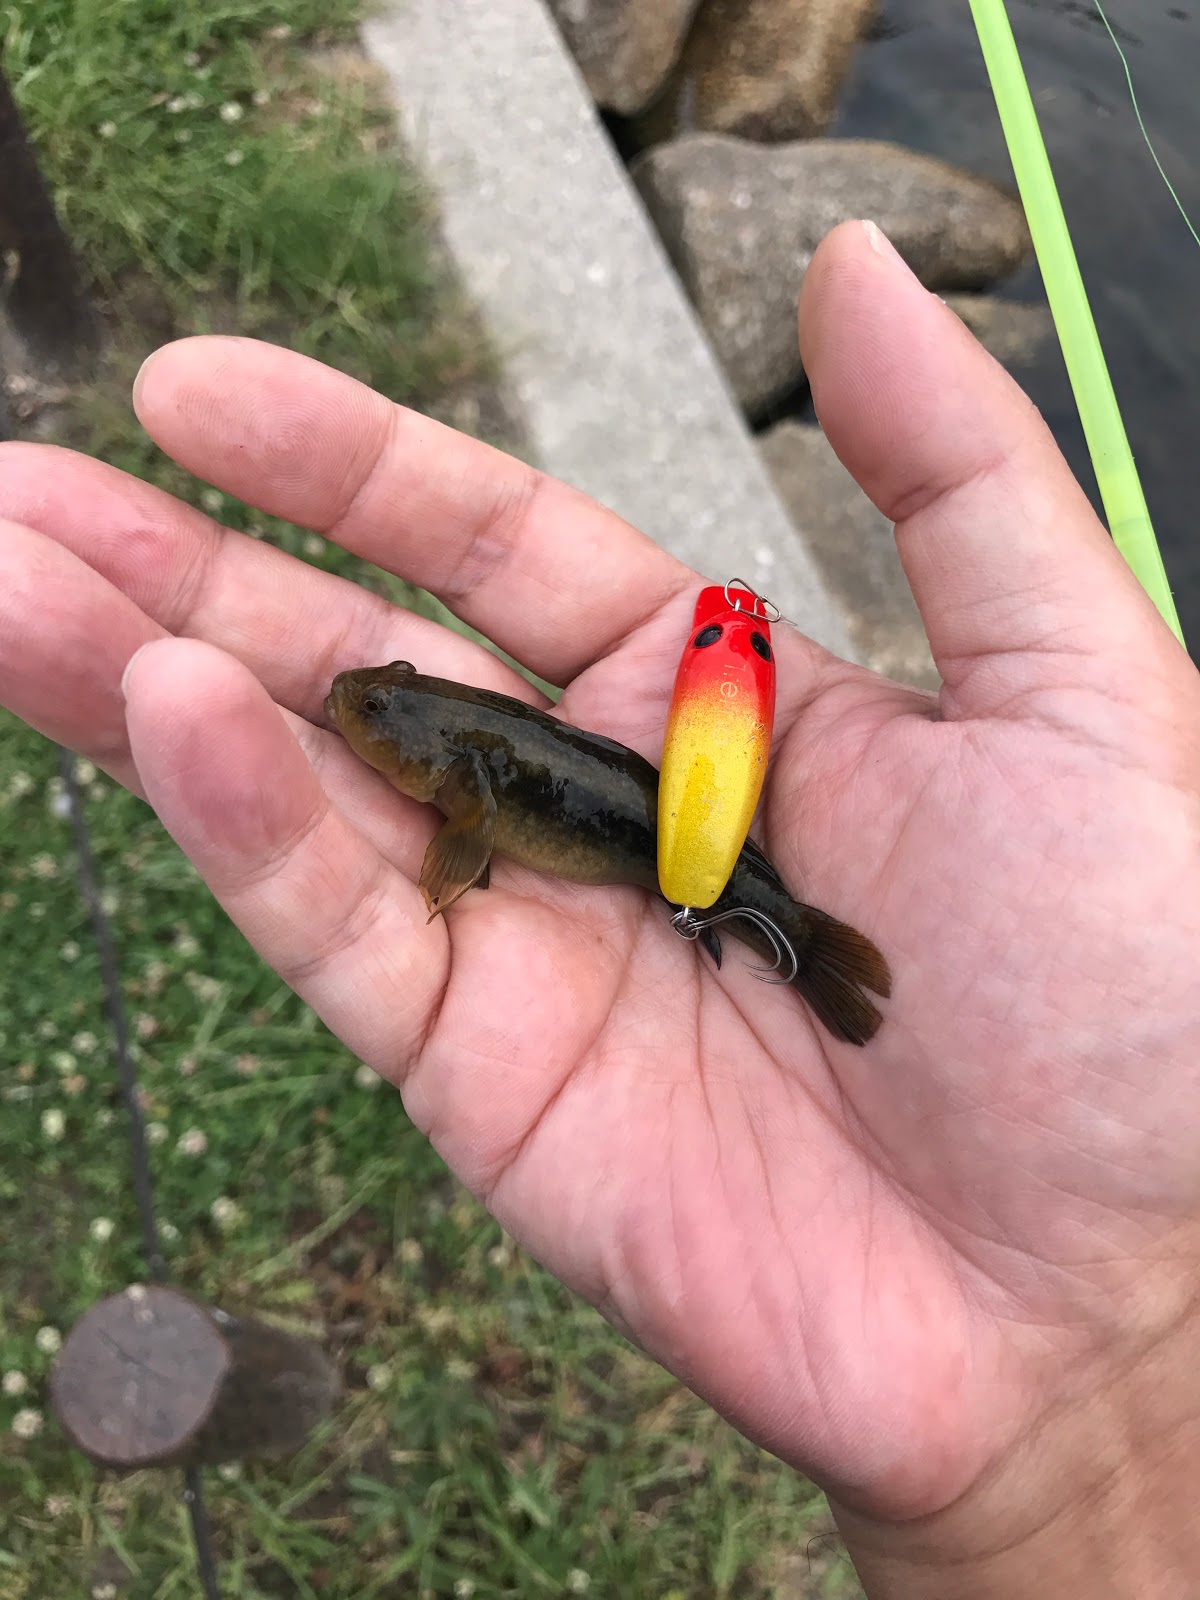
I caught a couple of 'Chichibu' gobies to confirm there were no issues.
I'll fish with it in this state to check the guide settings.
The final guide setup is as follows:
Product Name
Size
Quantity
PKWSG
10
1
PKWSG
5.5
1
PKBSG
4
1
PKTSG
4
2
T-FST
4.5-1.2
1
Top T-FST
8cm spacing
PKTSG
10cm spacing
PKTSG
15cm spacing
PKBSG
17cm spacing
PKWSG
19cm spacing
PKWSG
This is the final setting.
All that's left is to wrap the guides with thread, coat them, and it's complete (For details, please refer to the Justace video).
I managed to finish it this weekend, so I went goby fishing.
Yesterday, June 10th:
I managed to 'christen' the rod with a tiny young goby ('dekihaze')! (^o^)
Today (June 11th), I went on a two-hour fishing trip starting from 3 PM.
I caught a Chichibu goby & three young gobies. The young gobies are still very small, but since they've started biting, I declare the goby cranking ('Hazekura') season open.
But I have to say, rod building is addictive! The only place to get a baitcasting rod for goby fishing is from KYOTOFLY, and I wanted a slightly shorter rod for my usual canal, so I tried making one. Next time, I think I'll get serious about it, starting with choosing the blank.
Well, I don't think many people would do something this crazy, but I've shared my guide settings, so please use them as a reference if you like.
That's all for now.